

Last Updated: November 10, 2026
Quick Summary
To automate streetwear return shipping labels, connect your storefront, return policy rules and carrier account so a label is created when a return is approved. Set eligibility rules first, then generate return shipping labels only after approval to avoid paying for unused labels.
- Write your return window and eligibility rules in plain language before choosing software.
- Test that eligibility checks run before any label is created during your trial.
- Generate labels after approval and customer confirmation, not when the request is submitted.
- Set an expiry window on each label so stale labels do not accumulate.
- Hold any refund deduction until the returned item passes your condition check.
Table of Contents
- What a Return Shipping Label Is and Why Automating It Matters
- Setting Your Return Policy and Eligibility Rules First
- Choosing Ecommerce Return Management Software for Your Store
- Building an Automated Return Label Workflow Step by Step
- How to Reduce Return Shipping Costs Without Hurting Customers
- Fraud Checks, Printing and Tracking Returns Once Live
- Test Your Return Label Setup Before You Launch It
- Frequently Asked Questions
What a Return Shipping Label Is and Why Automating It Matters
A return shipping label is the prepaid label a customer uses to send an item back to your store, and it is the core of any returns setup. Automating them turns a slow, manual task into a process that runs on its own. The fastest way to automate streetwear return shipping labels is to connect your storefront, your returns rules and your carrier account so a label is created the moment a return is approved.
Manual labels cost time and create mistakes. Someone has to check the order, confirm the return window, build the label, and email it to the customer. Multiply that by dozens of returns a week and the work adds up fast.
- Return shipping labels get created the same day a return is requested
- Customers receive the label without waiting on a reply
- Fewer errors in addresses, weights and service levels
- Staff spend their time on exceptions, not routine returns
Watch out: a label sent before the return is approved can be used to ship back items you never agreed to take.
Setting Your Return Policy and Eligibility Rules First
Your return policy is the rulebook the automation follows. Decide who can return, what can come back, and how long customers have before you write any rule into software. Clear rules make automation easy, and vague rules make it fail.
Start with a few simple decisions:
- Return window: Choose a window that fits your business
Write these rules down in plain language before you touch any software.
Choosing Ecommerce Return Management Software for Your Store
Return software falls into three broad categories, and the right choice depends more on your workflow than on feature lists. Native platform tools come built into your ecommerce system and usually have the shortest setup, but they often offer limited carrier choice and fewer options for custom return rules. Shipping software, which connects your store to a carrier account and buys labels in bulk, offers broad carrier support and good batch printing, but may require more manual steps to link returns to orders. Dedicated returns apps add a customer-facing portal, eligibility rules, and workflow automation, at the cost of another subscription and another integration to maintain.
For a streetwear store, the decision usually turns on three questions. First, can the tool enforce your eligibility rules, such as the return window, excluded limited-drop items, and condition requirements, before it creates a label? A tool that issues labels first and checks rules later will generate costs you cannot recover. Second, does it support the carrier and service level you actually negotiated? Third, how much effort does setup take for the staff you have? A tool that requires a developer to configure every rule may be a poor fit for a small team.
When comparing vendors, test three things directly rather than trusting the feature page. Run a sample return that should be rejected under your policy and confirm no label is created. Check the label cost against your carrier invoice. Scan a test package and confirm the return status updates for both your team and the customer.
Most stores start with the simplest tool that enforces eligibility correctly, then add a dedicated app once volume or international shipping makes manual handling costly. Changing tools later is easier if you keep your return policy written in plain language and separate from any one vendor's settings.
Watch out: a tool that creates labels before checking return eligibility can issue labels for items you never agreed to take back, so confirm the eligibility step runs first during your trial.
The three categories of return software differ in how they handle setup, carrier choice and rule enforcement, as summarised below.
| Software type | Strength | Limitation |
|---|---|---|
| Native platform tools | Shortest setup, built into your store | Limited carrier choice, fewer custom rules |
| Shipping software | Broad carrier support, good batch printing | More manual steps to link returns to orders |
| Dedicated returns apps | Customer portal, eligibility rules, workflow automation | Another subscription and integration to maintain |
Building an Automated Return Label Workflow Step by Step
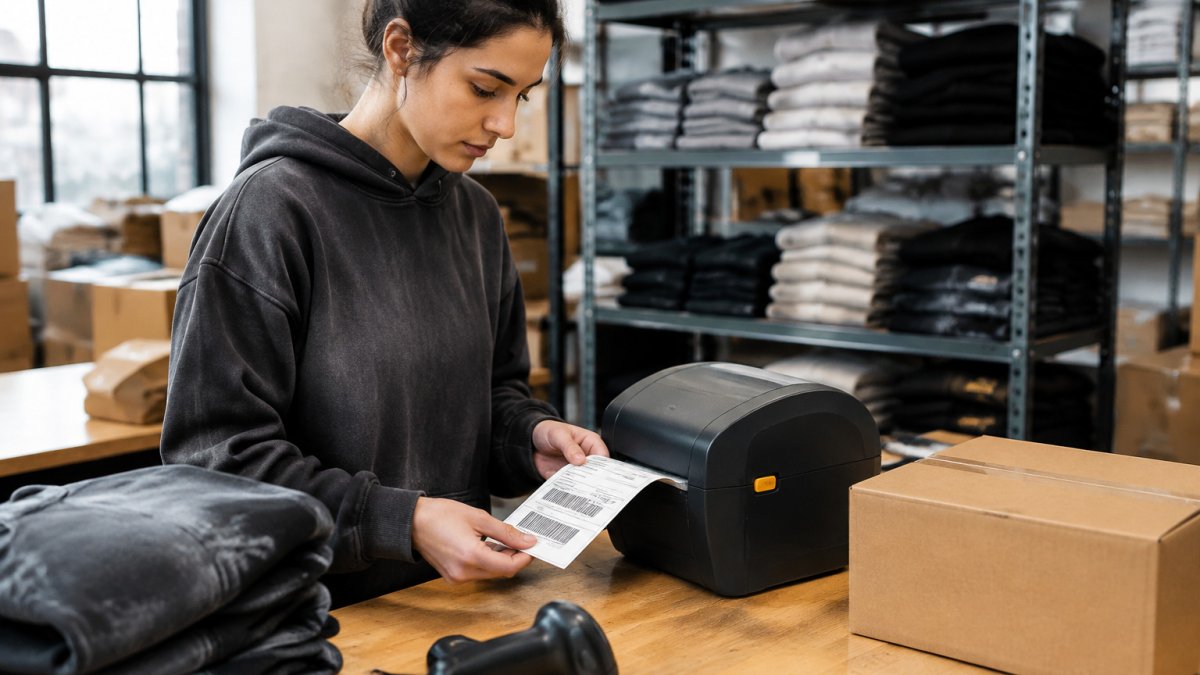
Once your rules and software are chosen, you can build the workflow that issues return shipping labels without manual steps. A good workflow runs from return request to label delivery with no manual steps for routine cases.
Connecting Your Storefront and Carrier Accounts
Start by linking your ecommerce store to the return software, then connect your carrier account so the software can buy labels on your behalf. Test with one sample order before you connect real customers.
Setting the Trigger and Label Delivery Rules
Set the trigger that starts the label process. Most stores use one of two triggers: the customer submits a return request, or you approve the return first. Approving first gives you control. Then choose how the label reaches the customer, either as an email attachment or a link in a self-service portal. Set rules for return address routing so items go to the right warehouse.
How to Reduce Return Shipping Costs Without Hurting Customers
Return shipping is one of the largest hidden costs in an apparel store, and it compounds quickly on low-margin streetwear. The useful question is not whether to offer free returns, but which return cost model fits each type of order. Three models cover most situations: a prepaid label paid by the store, a customer-paid label, and a refund deduction where the customer ships back at their own expense and the store subtracts a fixed fee from the refund.
Each model suits a different order profile. Prepaid labels build trust and work well for exchanges, loyalty members, and higher-value pieces such as outerwear, where a lost return would cost more than the label. Customer-paid returns make sense for low-value basics, where a return label can cost as much as the item's margin. A refund deduction sits between the two. It keeps the return free to initiate, but it recovers part of the cost, which is useful when customers are likely to ship back anyway.
The cost that surprises most stores is the unused label, since return shipping labels generated at approval but never used can still carry a purchase cost. Labels generated at approval but never used still carry a purchase cost with some carriers, and labels that expire unused leave you paying for nothing. To control this, generate the label only after the return is approved and the customer confirms they intend to ship, rather than at the moment the request is submitted. Set a clear expiry window on each label so stale labels do not accumulate.
Streetwear adds a few specifics. Limited drops and final-sale items should carry customer-paid or no-return rules, because a worn or altered piece from a sold-out release is hard to resell at full value. Exchanges for size are usually the cheapest outcome for both sides, so offering a free size swap before a refund is often the most cost-effective path.
Watch out: if a refund deduction is applied before the item is inspected, customers may dispute the amount, so hold the deduction until the returned item passes your condition check.
Fraud Checks, Printing and Tracking Returns Once Live
After launch, watch for abuse. Automated tracking helps here because you can see each return's status from the moment it is labeled.
Printing is the other daily task. If you print labels in batches, set a fixed time each day and print everything at once.
Test Your Return Label Setup Before You Launch It
Before you open returns to customers, run a full test. Create a sample return for each product type, check that the label generates, confirm the email arrives, and scan the test package through your warehouse. Check that the refund trigger fires only after the item is received.
Run through these steps once more after any change to your policy, carrier, or store platform, so your return shipping labels keep working correctly. A quick test now saves a lot of cleanup later.
Need help setting up your return policy? Explore NewCity Brand's streetwear collection and see how our return process is built for real customers. Shop now →
Frequently Asked Questions
What is the most cost-effective way to automate return labels?
The lowest-cost approach usually combines a return portal that generates labels only for approved returns with a carrier account you negotiate or buy through a shipping platform. Charging customers for return shipping on eligible returns, or offering a discounted label, shifts part of the cost. Compare per-label rates across carriers before committing, because pricing depends on package weight, dimensions, and volume. Check current rates directly with each carrier or your software provider, since prices change and quotes vary by account.
Can I integrate automated returns with my Shopify store?
Yes. Most ecommerce return management apps built for Shopify connect to your store so they can read order details, check return eligibility against your return window, and generate a return label when a return request is approved. Confirm that the app supports the carriers you use and that it can email the label to the customer automatically. Test the connection with a sample order before turning it on for real customers.
Do I need a specific carrier account to automate return labels?
Not always. Some return software includes access to carrier rates through its own platform, while others require you to connect your own carrier account. A direct account can give you more control over pricing and service levels, but a platform account is simpler to set up. Check which option your software supports before you choose a carrier, and confirm the return address and drop-off options for each carrier you plan to use.
